Screen sharing is a staple in Windows systems. Did you know you can also screen share on Linux? Ubuntu screen sharing using Vino VNC Server is an excellent way.
Vino VNC is the default VNC server that handles Ubuntu screen sharing, but it isn’t enabled and is not configured out of the box. So if you’re interested in enabling Ubuntu screen sharing, stay tuned, and we’ll learn how to do it.
Table of Contents
Requirements
This tutorial will use an Ubuntu 22.04 desktop, but any recent versions of Ubuntu should be ok.
Ensure Vino VNC is Updated
If you have a GNOME desktop, then you most probably already have Vino VNC installed. But even so, we must ensure that your Vino VNC server is updated.
Open a terminal session and update the local package index.
sudo apt update
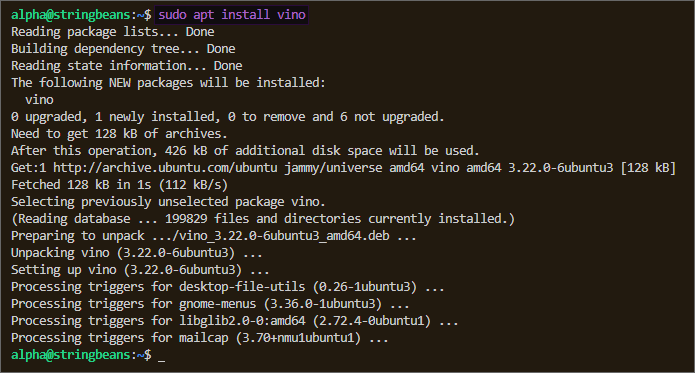
Install the Vino VNC server package.
sudo apt install vino
Enable Ubuntu Screen Sharing
Now that you’ve ensured you have the latest Vino VNC let’s start enabling the Ubuntu screen sharing feature.
- Open the Settings app and click Sharing on the left-hand side.
- Next, ensure that the Sharing toggle is on.
- Click Remote Desktop.
- Turn on Remote Desktop.
- Turn on Remote Control.
- Check the Enable Legacy VNC Protocol.
- Click the three-dot button.
- Click Require a password.
- Change the password or keep the default and copy it.
- Close the Remote Desktop window.
- Click Media Sharing.
- And turn on Media Sharing.
- Remote Desktop should now be On, and Media Sharing is now Active.
- Close the Media Sharing window and the Settings app.
- Back in the terminal, run the below command to allow the VNC port number 5900 in the UFW firewall. This step ensures that incoming connections to the Vino VNC server are permitted.
sudo ufw allow 5900
- Lastly, find your computer’s IP address. You’ll need it later to connect.
hostname -I
Connect to Ubuntu Screen Sharing from Windows
Now that Ubuntu screen sharing is enabled and configured, you’ll need a VNC client to connect to it. There are many VNC clients available for Windows. In this example, we’ll use the VNC Viewer on Windows 11.
Install VNC Viewer
- Go to the VNC Viewer download page.
- Click Desktop → Windows → Download VNC Viewer.
- Open the installer after it’s been downloaded.
- Click OK.
- Click Next.
- Check the I accept the terms in the License Agreement box and click Next.
- On the next page, keep the defaults and click Next.
- On the Ready to Install VNC Viewer step, click Install.
- Lastly, click Finish.
Connect using VNC Viewer
Now let’s connect to the Ubuntu screen sharing.
- Open the VNC View application you just installed.
- Click the Use VNC Viewer without signing in link.
- Once the VNC Viewer is open, enter the IP address or hostname inside the box and press Enter.
- You will be prompted about an unencrypted connection. Click the “Don’t warn me about this again” box, and click Continue.
- Enter the VNC password, click the Remember password box, and click OK.
Congratulations! Screen sharing is now active.
Connect to Ubuntu Screen Sharing from Linux
A prime example of a VNC client on Linux is Remmina. Refer to the below link on installing Remmina if you’re using a Linux distribution that doesn’t have it out of the box.
Note. Check our tutroial on how to install Remmina Remote Desktop Client on Ubuntu.
- Open the Remmina Remote Desktop Client.
- Once Remmina is open, choose VNC from the dropdown box, enter the IP address or hostname of the remote computer, and press Enter.
- Enter the VNC password, toggle on Save password, and click OK.
You’re now connected to the Ubuntu screen sharing via Vino VNC.
Summary
With Vino VNC on Ubuntu, you can access the remote Ubuntu desktop and enable screen sharing. Since there are VNC clients for Windows, Linux, and macOS, you can connect to an Ubuntu desktop from any operating system.


